Groups Management
- 27 Dec 2024
- 3 Minutes to read
- Print
- DarkLight
Groups Management
- Updated on 27 Dec 2024
- 3 Minutes to read
- Print
- DarkLight
Article summary
Did you find this summary helpful?
Thank you for your feedback!
A Group is an object that contains one or more fixtures that are available for selection by clicking on one object. They can be found in the Groups pane on the left hand side of the Programmer window. Note that the pane size can be adjusted by left clicking on the dividing line between the Groups pane and the Programmer main area and dragging it right or left.
By default LED CTRL creates a group for every fixture and a group for every Flexi Mapper containing all fixtures on that Flexi Mapper.
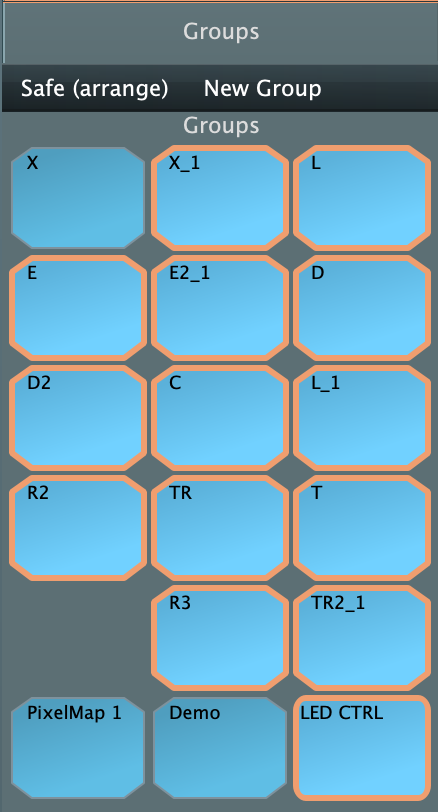
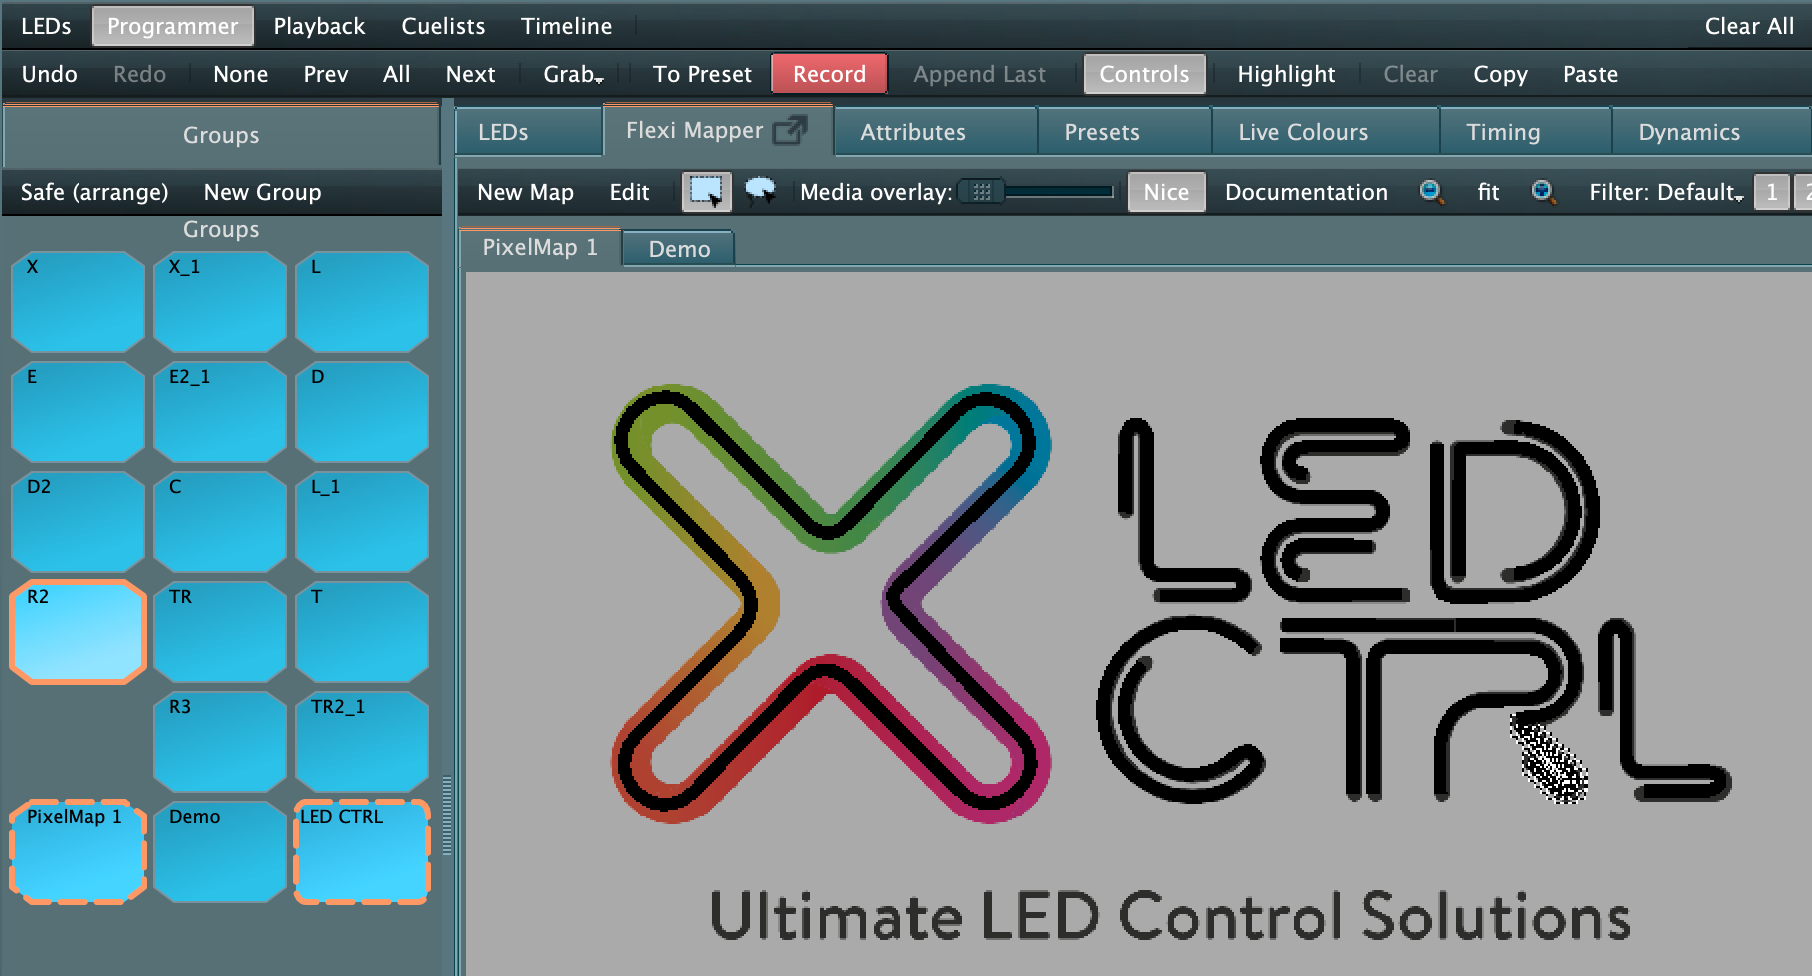
Groups that LED CTRL creates have bevelled corners, whereas user created groups have curved corners. In the below image only the last LED CTRL group has been user created.
Creating a New Group
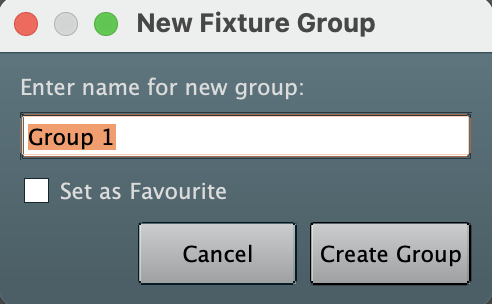
A new group can be created from existing fixtures by selecting the fixtures in either the Flexi Mapper or from the groups pane and clicking on New Group at the top of the Groups pane. You will be prompted to enter a name for the new group. Select Create Group to create the group.
The new Group will be created and added to the bottom of the Groups pane.
Note you can also create groups of groups to create a hierarchy for quick selection.
Renaming groups
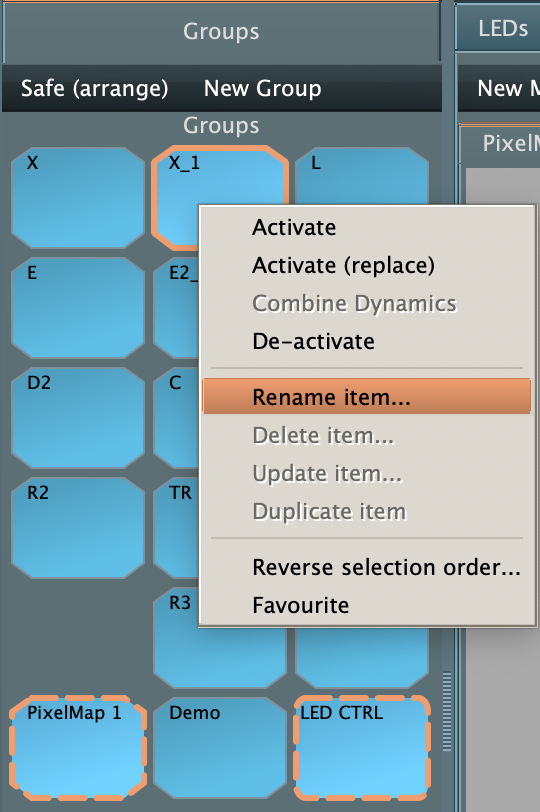
To rename a group select the group with a right click followed by the Rename item option. Enter the new name and select OK to save.
As groups for each fixture are created by default - these can also be renamed from the main LEDs window by double clicking the right hand pane and changing the name in the properties dialog.
The groups that are created automatically for the Flexi Mapper can be renamed by editing the Map Settings in Edit mode on the Flexi Mapper and renaming the Flexi Mapper tab.
Selecting groups
To select a group from the Groups pane just left click the group. the group will be highlighted with an orange outline. The corresponding object on any Flexi Mapper will be highlighted with a white outline as shown on the R below.
A group that is partially selected (some but not all fixtures) will be highlighted with a dotted orange line.
Rearranging groups
Groups can be arranged to suit your workflow. To rearrange groups select the Safe(arrange) option from the top of the Groups pane.The fixture selection will grey out and enable objects to be re arranged.
Note that the pane size can be adjusted by left clicking on the dividing line between the Groups pane and the Programmer main area and dragging it right or left.
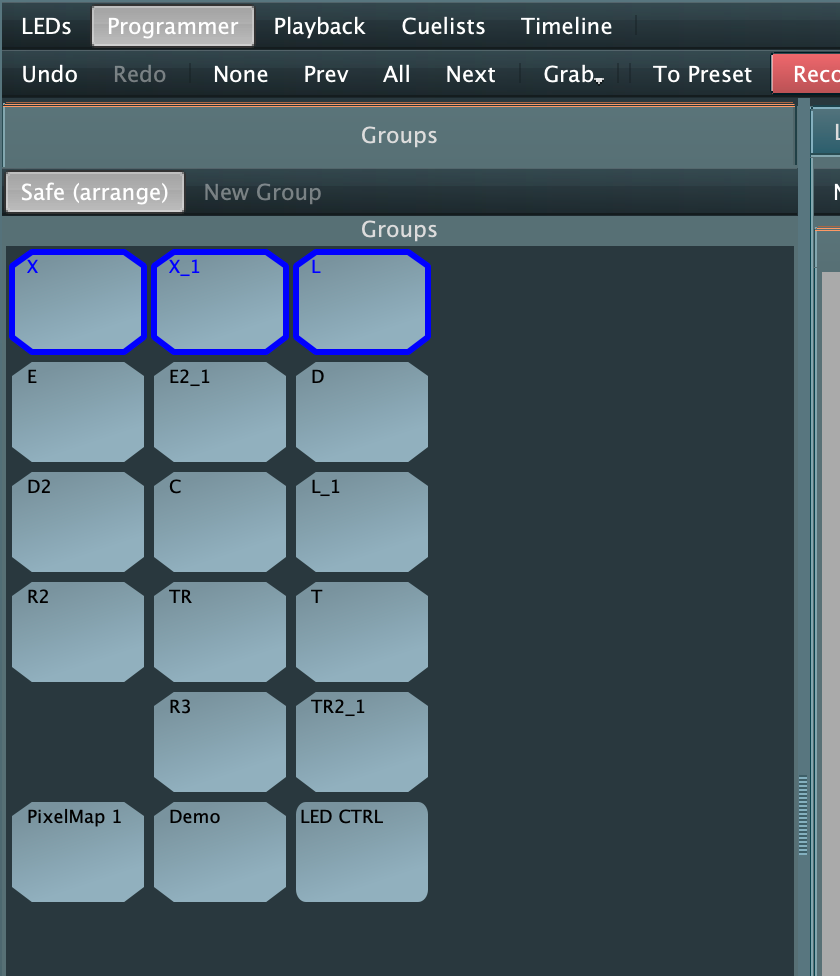
Select the group(s) to move by a lasso select or by left clicking (hold CTRL/Command for multi select), then drag the group(s) to their new location. Groups must be moved to a blank area in the window as other groups will not auto shift or overwrite. This is to enable groups to be safely arranged without changing order. In the screenshots below, the process for moving objects is show sequentially.
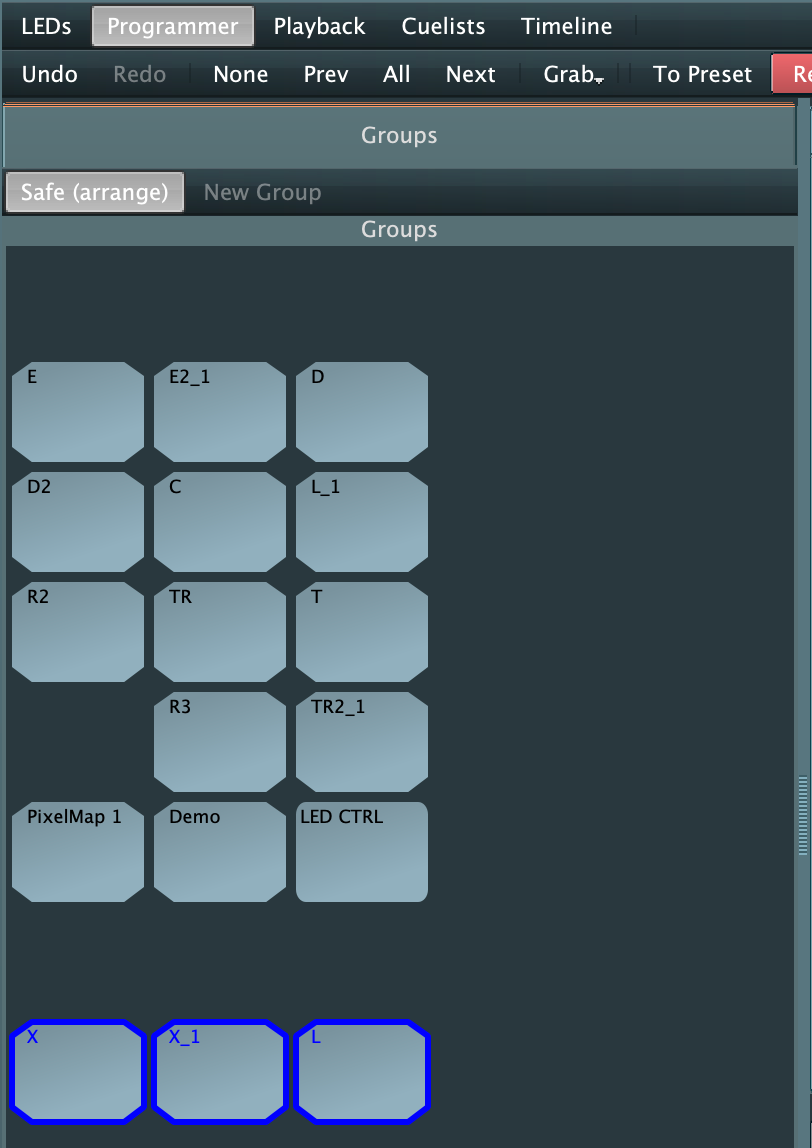
The Groups window will expand downwards as needed when groups are moved downwards.
When you have finished arranging your groups select the Safe(arrange) button to de-highlight the button and return the Groups pane to normal mode.
Deleting a Group
Groups that have been created by a user (illustrated with curved corners) can be deleted by selecting the group with a right click and choosing the Delete item option.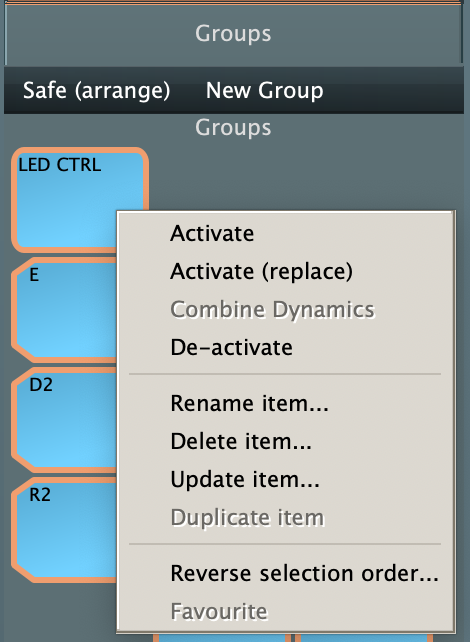
Note that a restart of LED CTRL is required to remove Groups that have been deleted from the LEDs screen.
Updating a group
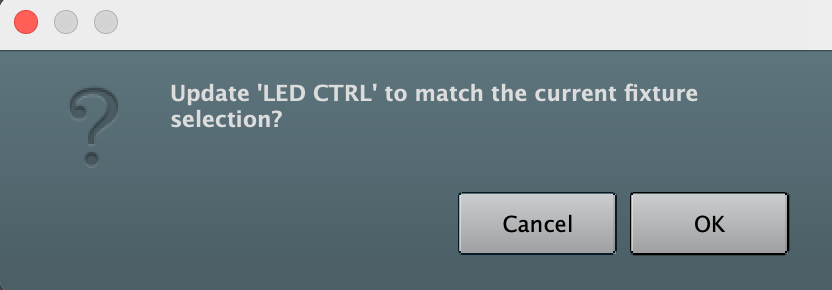
User created groups can be updated by selecting the new fixtures that you want in the group from the Fleximapper, then right clicking on the Group to update and selecting the Update item option. You will be prompted to confirm this action. Select OK to update the group or Cancel to leave it as was.