Editing LED Properties
- 18 Nov 2022
- 3 Minutes to read
- Print
- DarkLight
Editing LED Properties
- Updated on 18 Nov 2022
- 3 Minutes to read
- Print
- DarkLight
Article summary
Did you find this summary helpful?
Thank you for your feedback!
LED Properties can be edited from the LEDs Window or from the Fleximapper. Refer to the section on Fleximapper for details on editing from there.
From the LEDs window, LED properties can be edited including changing the LED address. LEDs can also be unpatched, re-patched and deleted from this window.
Changing LED Properties
Most LED properties can be changed, with the exception of the following that are set when created only: Pixel Type, Virtual intensity, 16-bit and Auto-skip. If you need to change any of those four categories that can't be changed, you will need to add new LEDs and delete the unwanted ones. There is no way to keep programmed effects and copy them to the new LEDs.
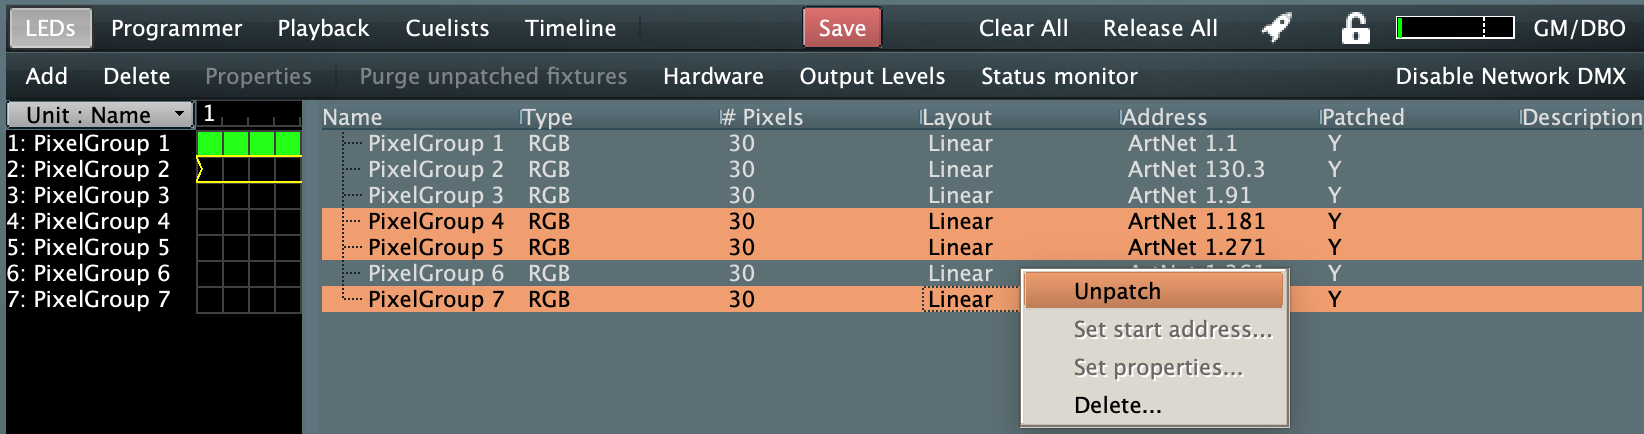
To change the remaining properties that can be changed, select the Pixel Group to be amended (only one) in the right hand pane and right click to see the available options, or double click on the Pixel Group in the right hand pane (but not on the Artnet address):

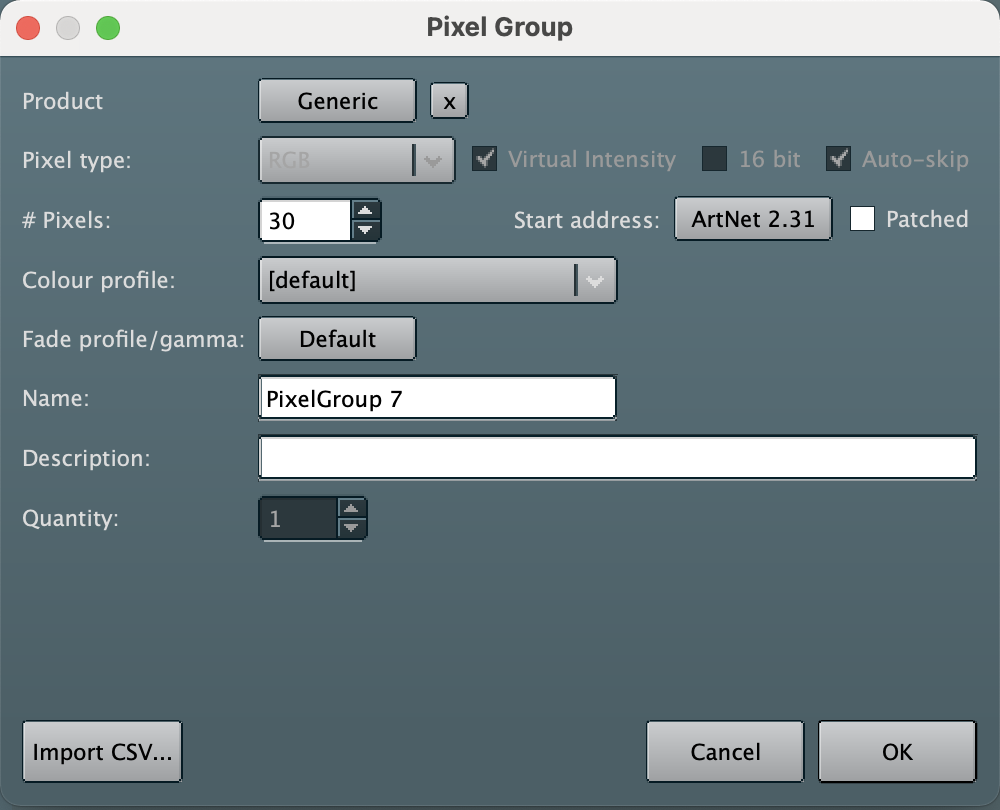
Select the Set properties option to open the Pixel Group properties dialog box :

Amend values as required and select OK to save, or Cancel to quit the dialog without saving.
Changing the LED Address
Either right click on the Pixel Group in the right hand pane and select Set start address..., or select the currently shown start address from the Pixel Group properties dialog (Artnet 1.91 in the image above), or double click the Artnet address in the right hand pane of the LEDs window. The Address Picker dialog will be shown:
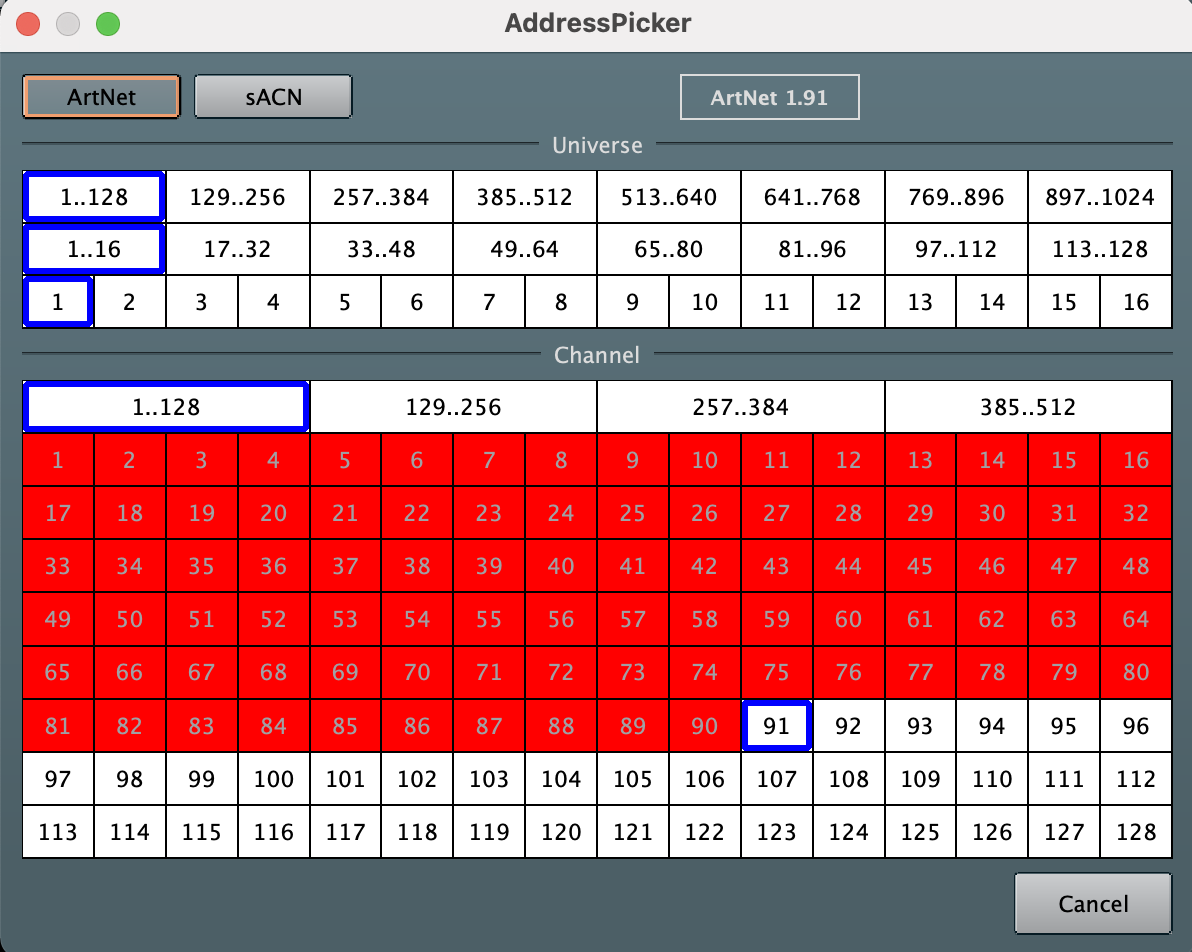
The currently selected start address is shown at the top of the dialog and represented with the two tables and the cells highlighted in blue. The above shows universe 1 selected, channel 91.
The red cells are channels that are assigned to other Pixel Groups and can not be set as the start address for this pixel group. Any white cell can be selected.
Additionally the protocol can be changed from Artnet to sACN and vice versa if preferred, using the Artnet or sACN buttons at the top of the dialog.
The universe can be changed in the upper section of the Address Picker window. To select Universe 129 you would first select the 129...256 option on the top row, then select the 129 option from the bottom row in the Universe section.The channel can be set using the bottom section. To select Channel 257 as the start address, first select the 257...384 option from the top row of the Channel section then select the 257 option from the array of start channels.
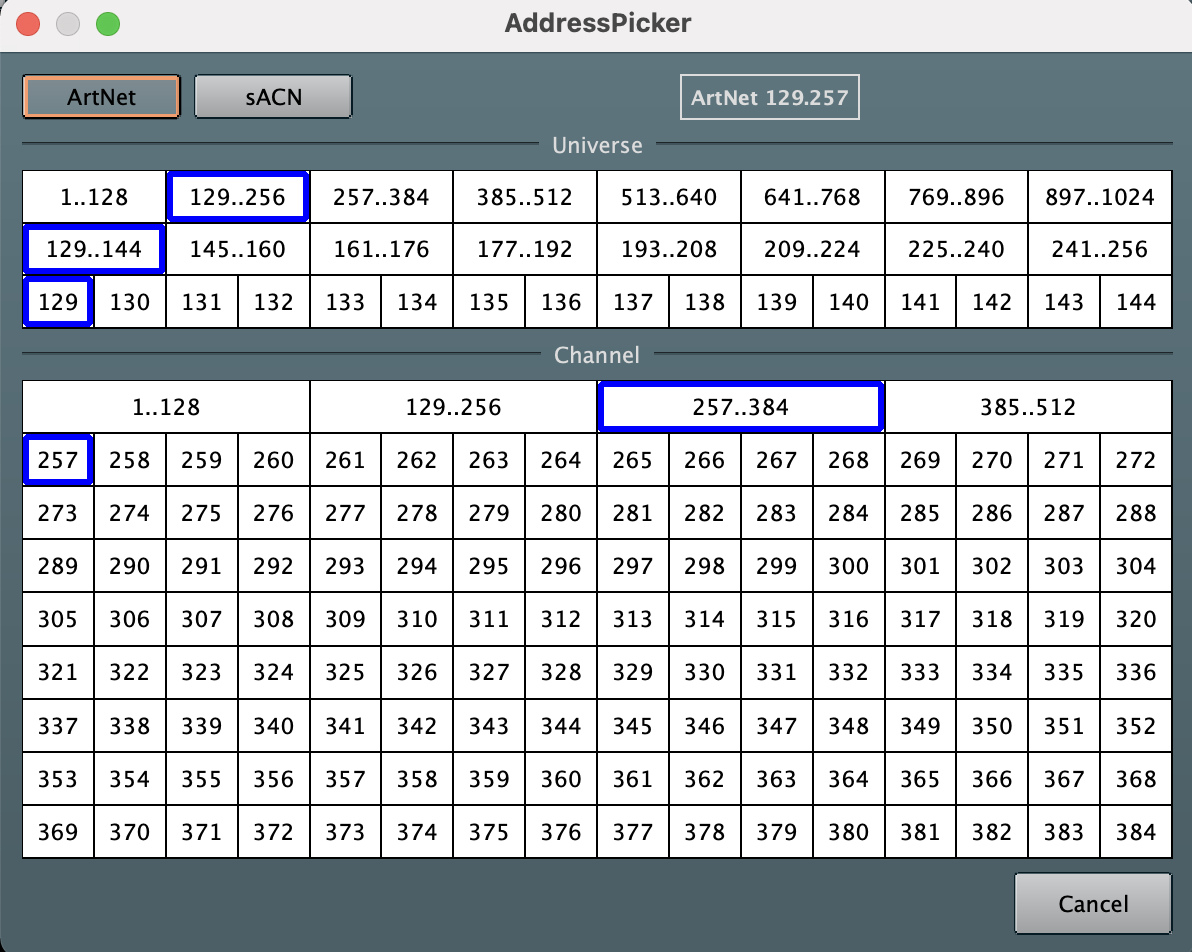
Select OK to save, or Cancel to quit the dialog without saving.
Un-patching LEDs
Select the Pixel Group (one or many) in the right hand pane of the LEDs window and right click followed by Unpatch. Alternatively you can open the Pixel Group properties by either double clicking on the pixel group in the right hand pane or the LEDs window (but not on the Artnet Address field) or right click the Pixel Group and select Set properties... and untick the Patched checkbox followed by OK.
Note that from the LEDs window, holding the CTRL key (Command on Mac) and left clicking Pixel Groups allows multiple Pixel groups to be selected for simultaneous un-patching (or deletion).
Deleting LEDs
Either select the Pixel Group from the left or right hand side of the LEDs window and select the Delete option. Or right click on the pixel Group in the right hand pane and select the Delete... option from the available options.
Note that from the LEDs window, holding the CTRL key (Command on Mac) and left clicking Pixel Groups allows multiple Pixel groups to be selected for simultaneous deletion (or un-patching).
The following warning may be displayed to warn that this action can not be undone and will also clear all programming buffers:
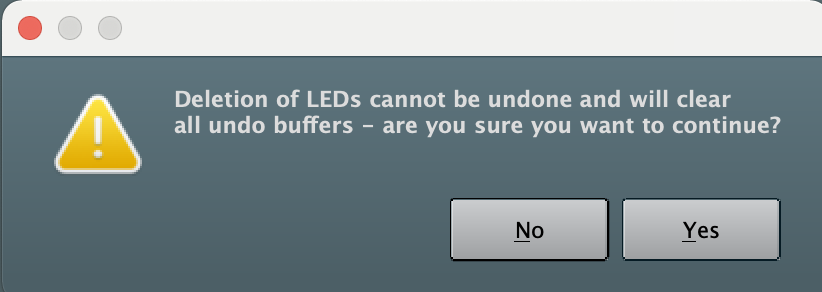
If you are sure you want to delete the LEDs select Yes, otherwise select No.