Assigning LEDs
- 27 Dec 2024
- 4 Minutes to read
- Print
- DarkLight
Assigning LEDs
- Updated on 27 Dec 2024
- 4 Minutes to read
- Print
- DarkLight
Article summary
Did you find this summary helpful?
Thank you for your feedback!
In order to have LEDs to control via the Fleximapper, it is necessary to assign LEDs to the objects on the Fleximapper.
Assigning a single object
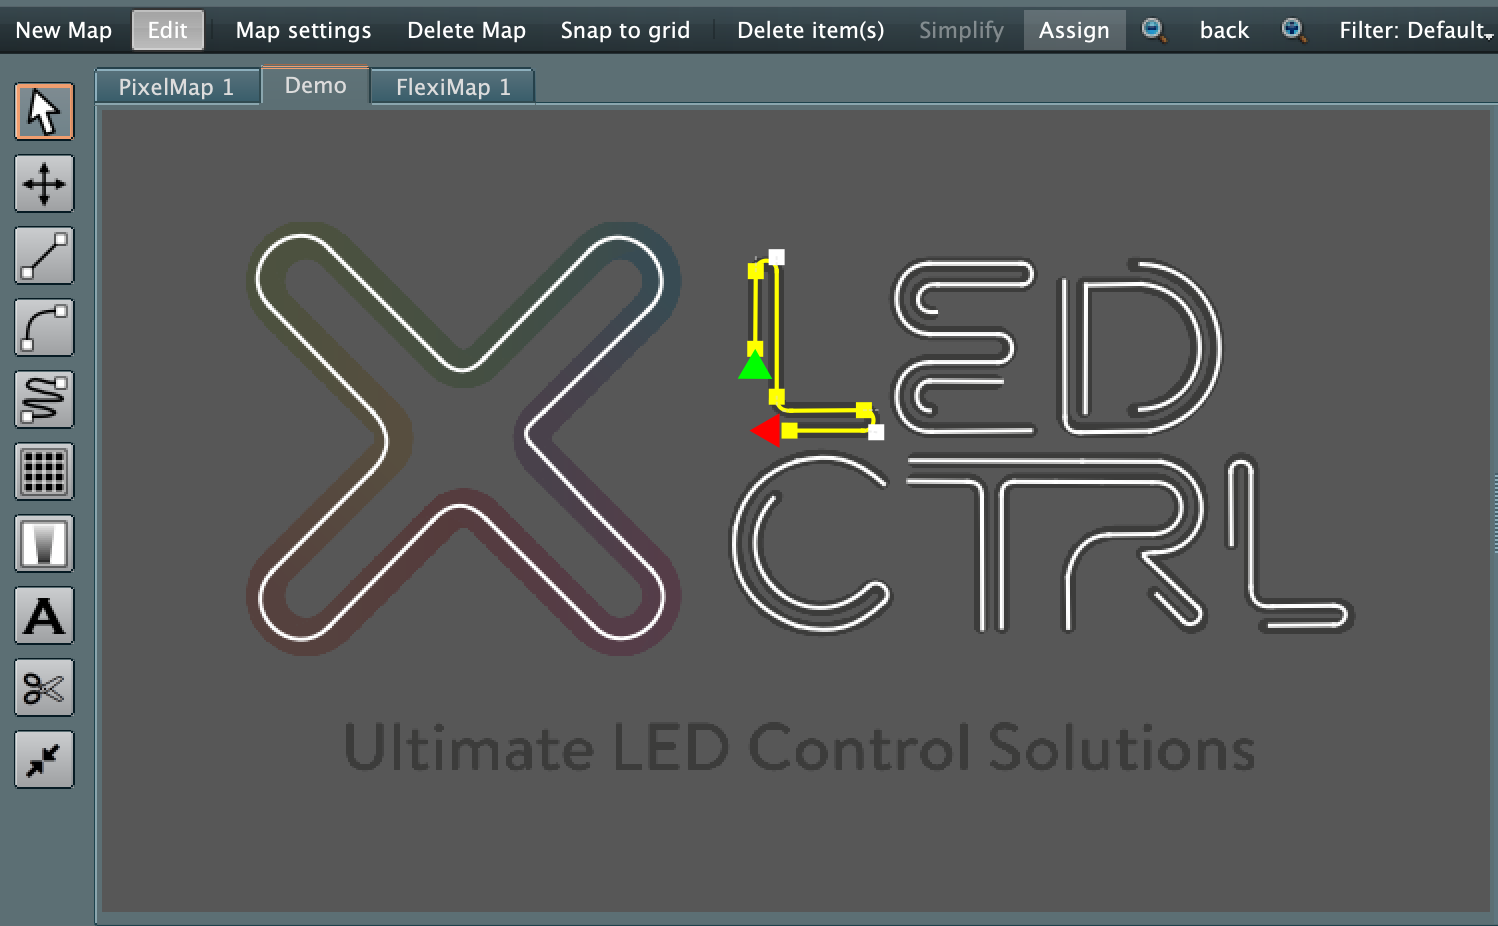
To assign LEDs to a single object, first ensure you are in Edit mode (by selecting the Edit button which exposes the Flexi Mapper tools on the left hand side of the pane), then right click on an object and select the Assign LEDs option..png)
Or left click the object and select the Assign button from the top menu option.
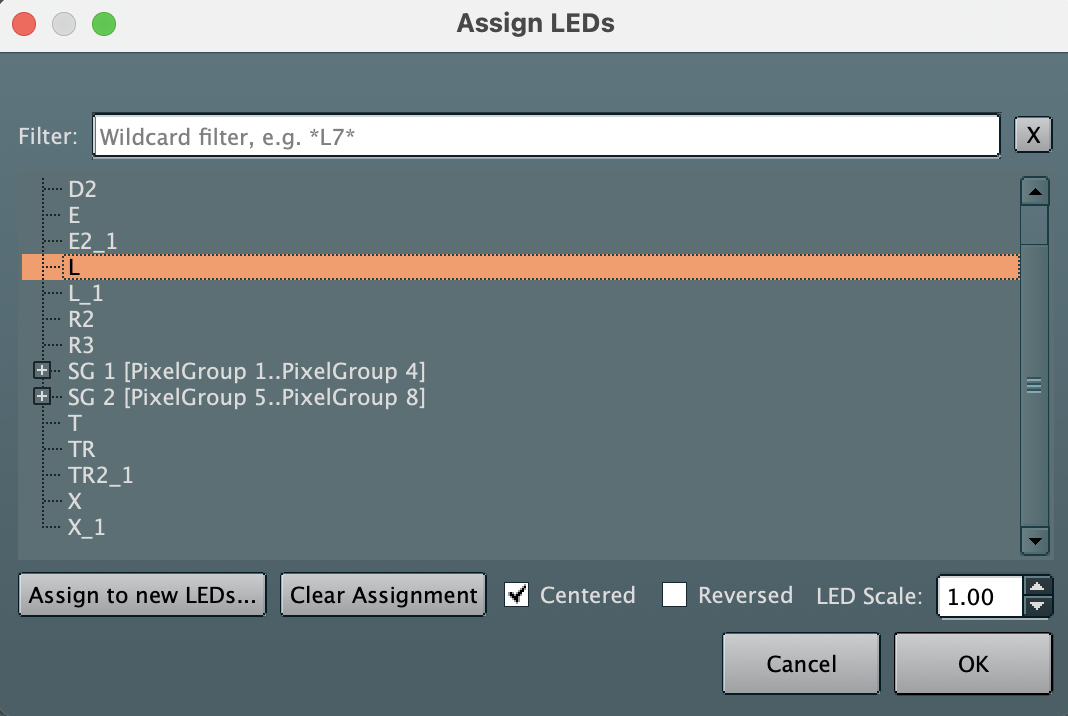
The Assign LEDs dialog will be displayed. To assign a Pixel group that has already been created, just select the Pixel group with a single left click. Then set the Centered and Reversed and LED Scale settings as required.
Centered: the pixels are placed with a half-pixel-interval at the start and end of the line, e.g.:
Not Centered Centered![]() vs.
vs. ![]()
Reversed: the pixels are assigned in reverse order from the direction shown on the line with the Red and Green arrows.
LED Scale is a multiplier for the objects LED scale on the Flexi Mapper. Combined with the overall LED scale for the Flexi Mapper, this allows individual LEDs to be shown smaller or larger than others. Ideal for when working with a perspective view of a scene.
Select OK to save the assignment. Or if happy with the defaults for Centered, Reversed and LED scale just double click the required pixel group to assign.
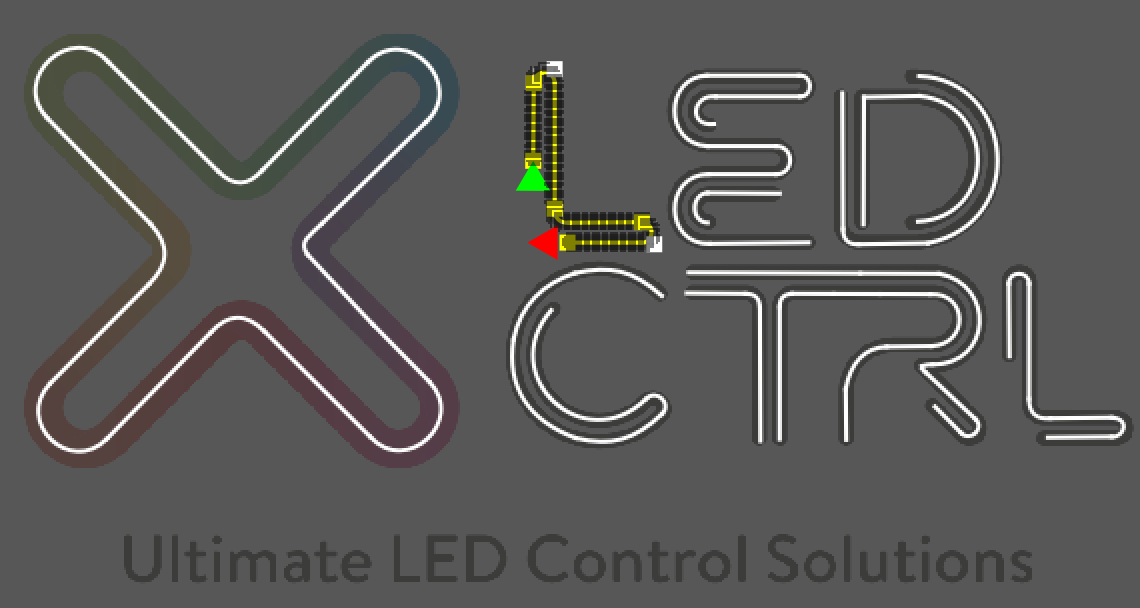
The assigned LEDs will be shown on the object:
If the LEDs have not already been added to the project, then you can add them from the Assign LEDs dialog by selecting the Assign to new LEDs button. Then adding all the LED details as required as described in the Adding LEDs section.
Assigning Multiple objects
To assign multiple objects at once, select the objects with a rectangular lasso select or by holding the CTRL/Command key and left clicking each item, then right click and select the Multi-Assign LEDs option:

The multi assign LEDs dialog will be displayed. If necessary move the dialog so you can see the single selected item on the Flexi Mapper, then select the pixel group from the list.

If the Auto Next box is selected the selection will immediately jump to the next object selected from the Flexi Mapper, otherwise the arrow buttons cane be used to move to the next object for assignment. Select OK to save assignments. All the objects will now have LEDs assigned.
.png)
Remember to quit the Edit mode by deselecting the highlighted Edit button when you have finished editing the LED assignments.
Reassigning and De-assigning LEDs
Pixel groups can be reassigned or de-assigned as required. To reassign a Pixel group select the object from the Flexi Mapper and right click followed by the Assign LEDs option or left click and select the Assign button from the top menu option.
To reassign, select the new LEDs to be assigned (or add them using the Assign to new LEDs button) followed by OK. Or to de-assign select the Clear Assignment button followed by OK.
Auto Assigning LEDs
When doing concept presentations where the number of LEDs per line only need to approximate the real world, or if the Flexi Mapper drawing has been done very accurately, the Auto Assigning LEDs is a very fast way of getting controllable LEDs onto the Flexi Mapper.
For Auto Assigning LEDs, no LEDs need to be added to the show prior to the Auto assignment, and LED CTRL automatically creates all the Pixel Groups required based on defaults.
Prior to auto assigning, a reference length must be set on the Flexi Mapper in order for LED CTRL to understand the pixel density. This can be done in two ways:
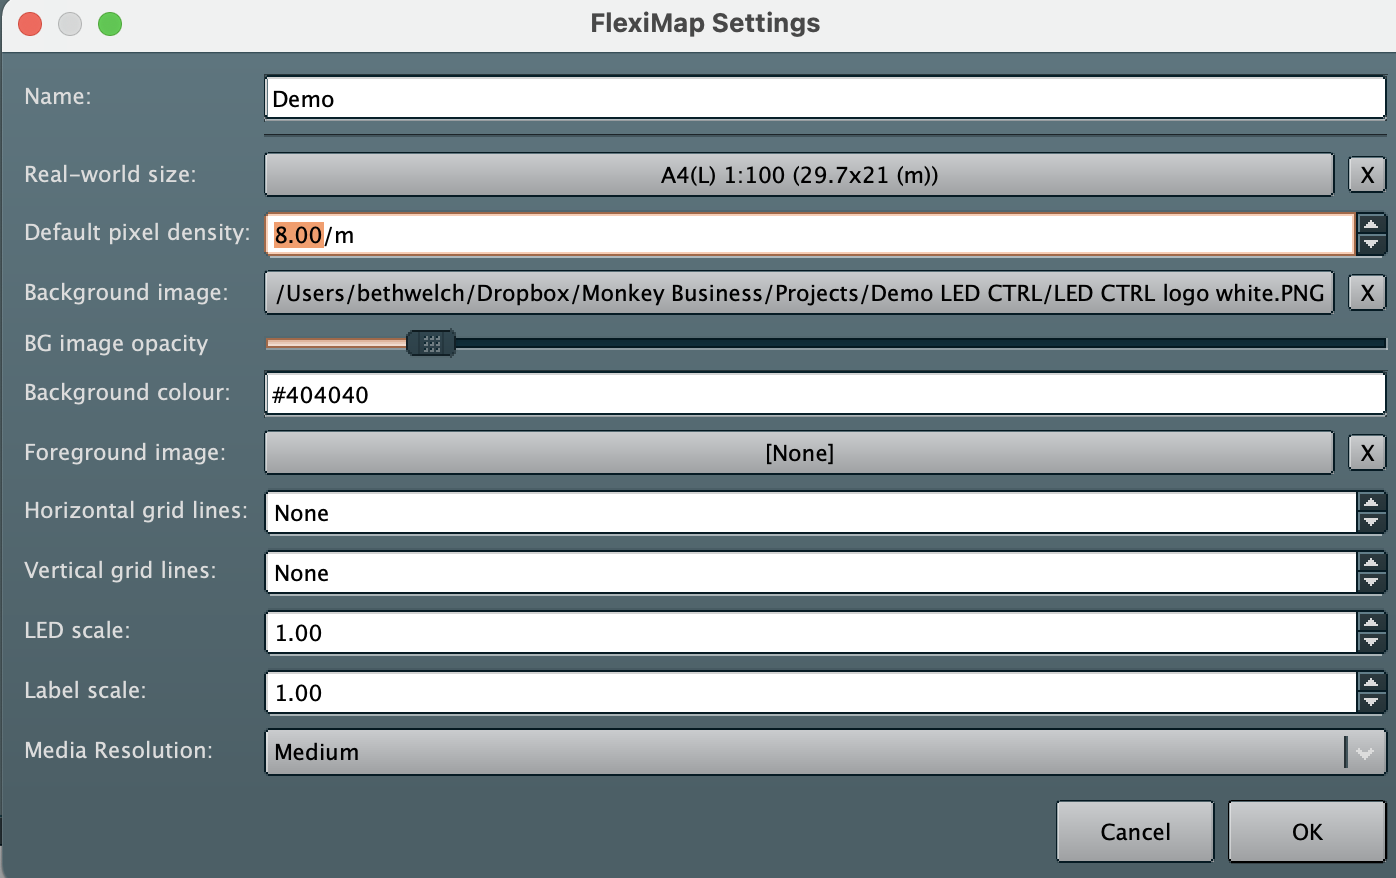
Firstly, from Edit mode, select Map Settings and set a Real World size and a Default pixel density, followed by OK to save:
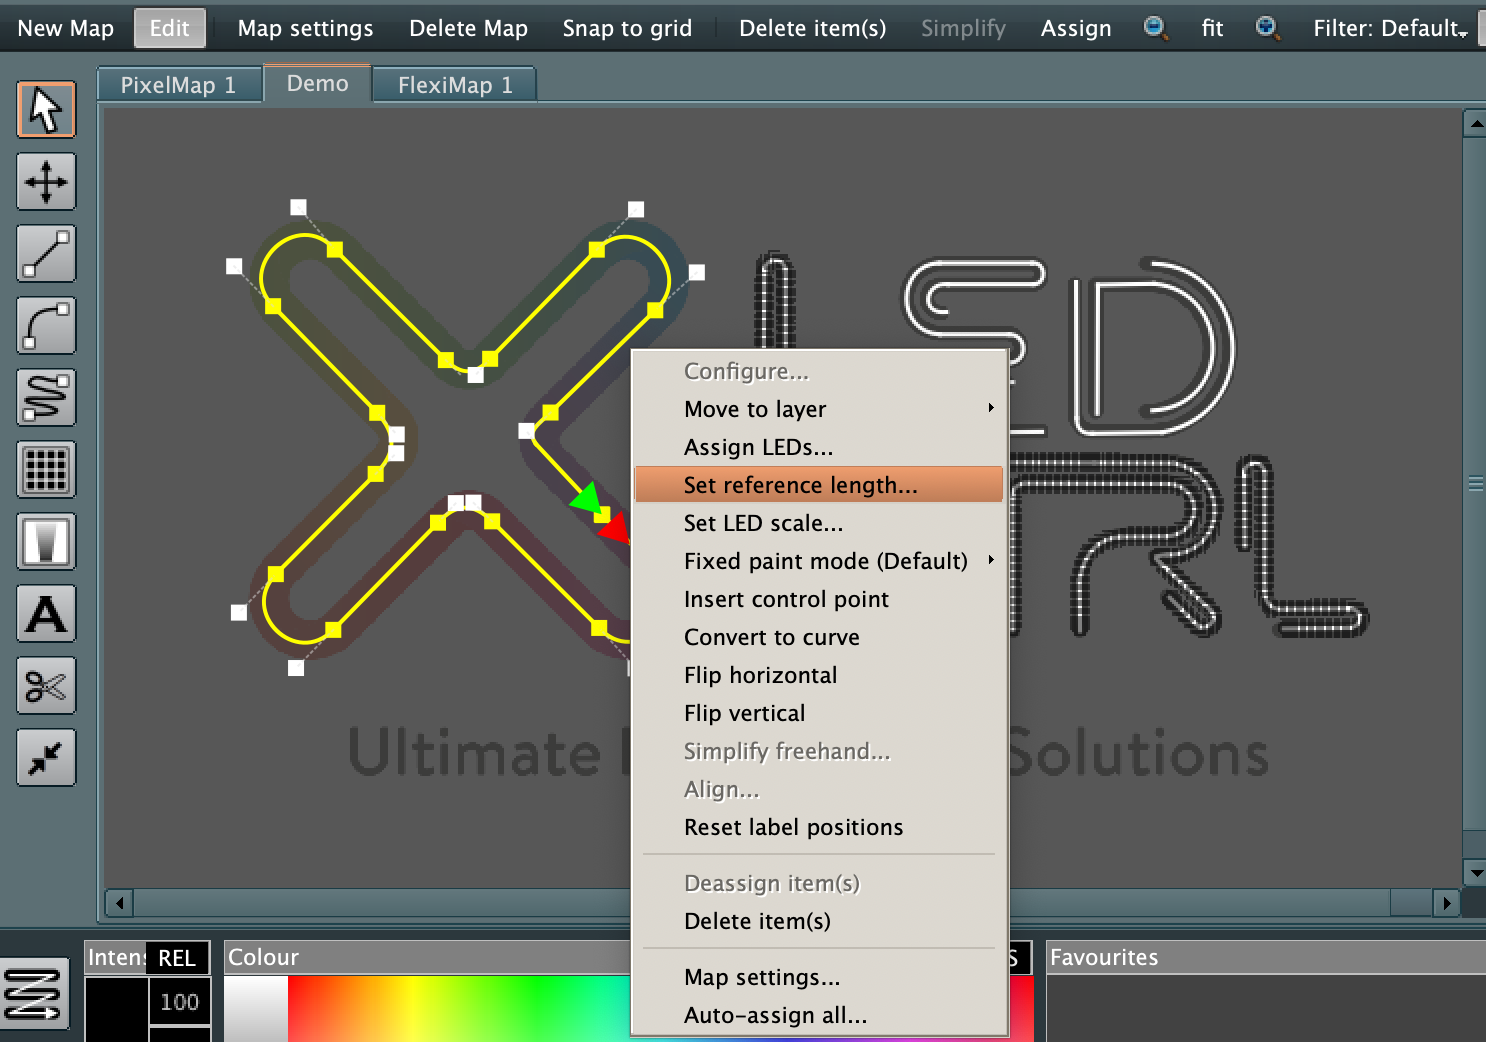
Alternatively, from the Flexi Mapper select an object of known length with a right click and select the Set Reference length option
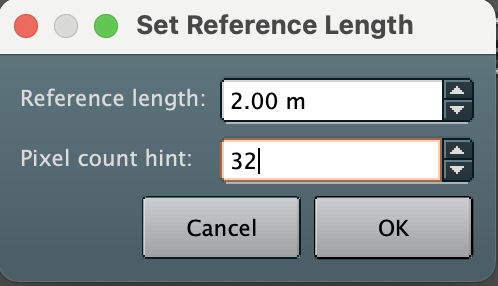
Set the known measurement and number of pixels for that object (based on your target pixel density) and select OK to save.
Then to auto-assign objects on the Flexi Mapper, right click anywhere on the Flexi Mapper and select Auto Assign All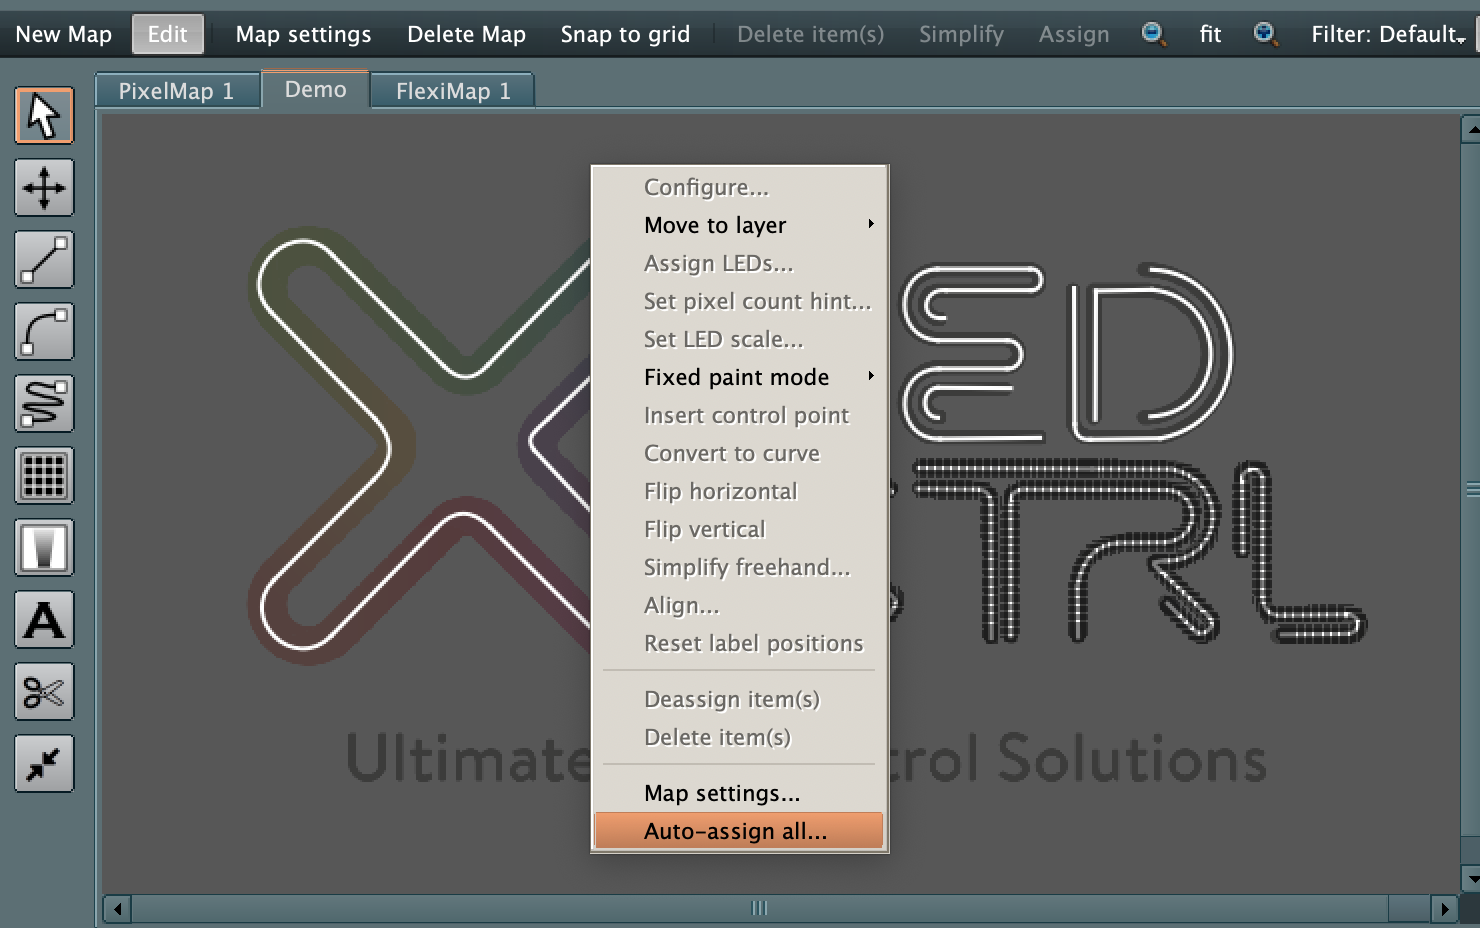
You will be prompted for what type of pixel should be assigned, so select the required chip type (noting that this can not be changed later) and select OK to Auto-assign all the object on the Flexi Mappper.
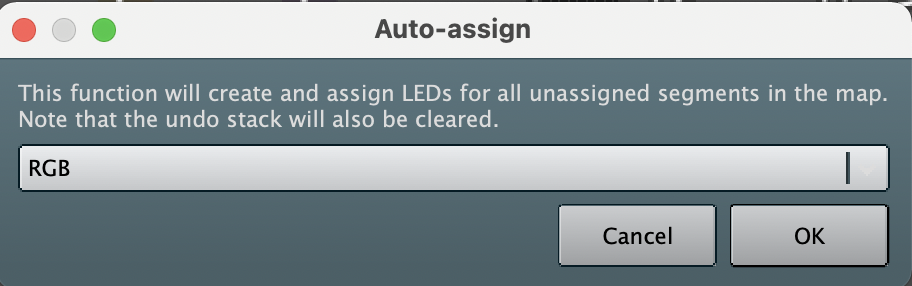
Once you select OK, LED CTRL will create all the new Pixel Groups required and assign them to each object. By default Grazers are set to be a single pixel and are not influenced by the reference length.
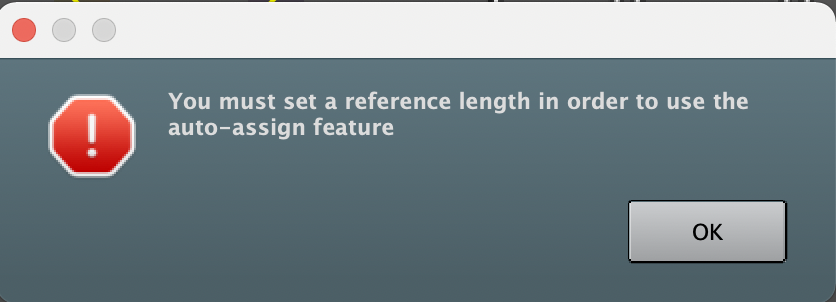
Note if you don't have a reference length set LED CTRL will warn you when you attempt an auto-assign:
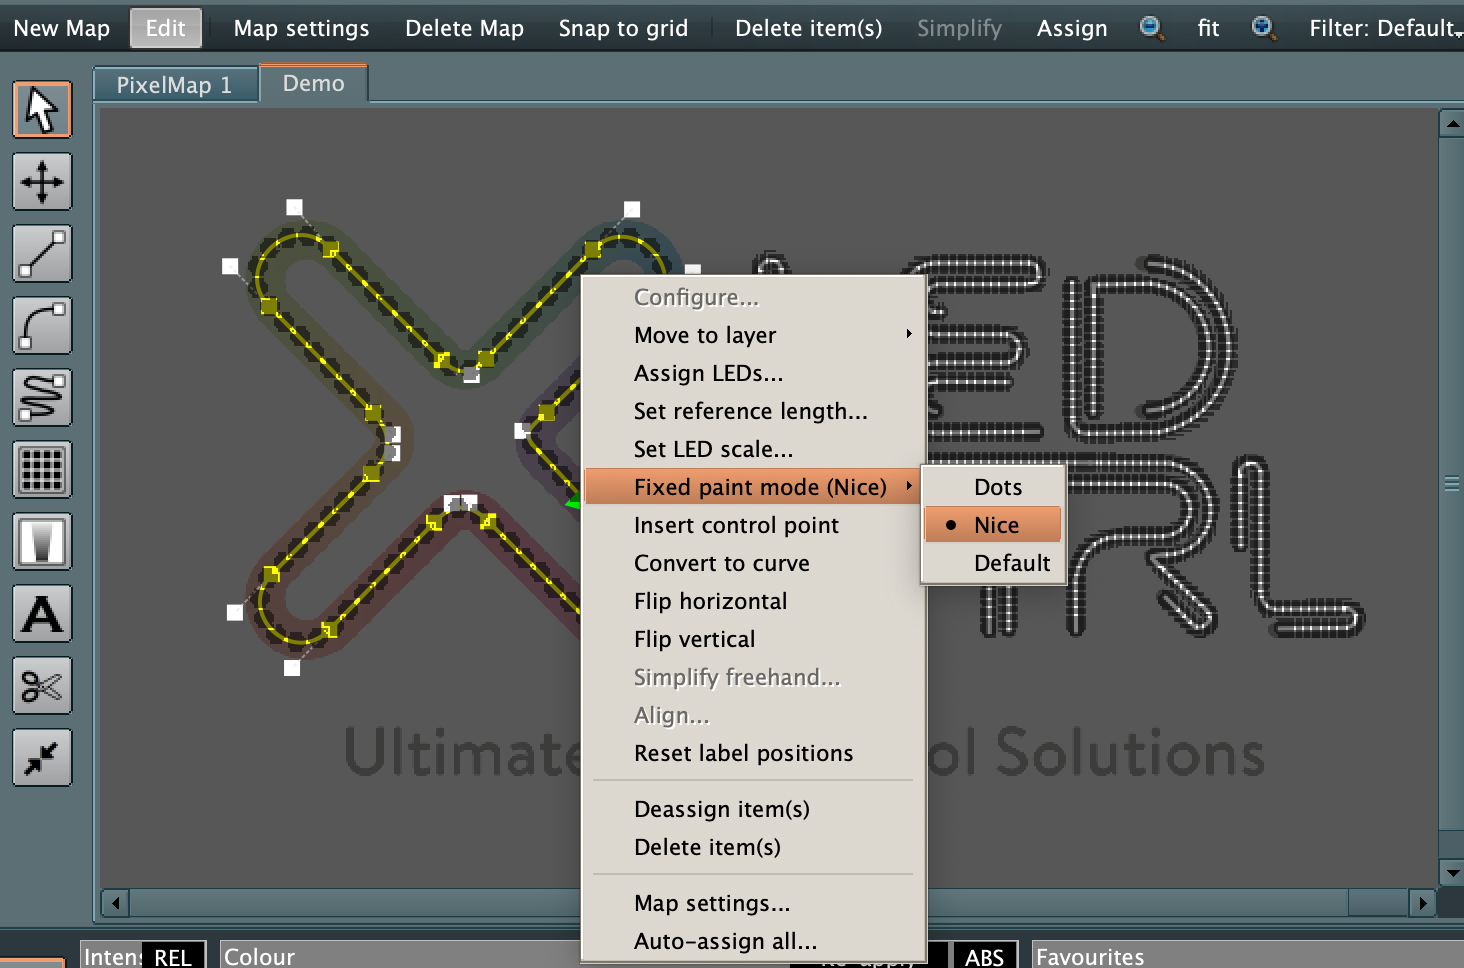
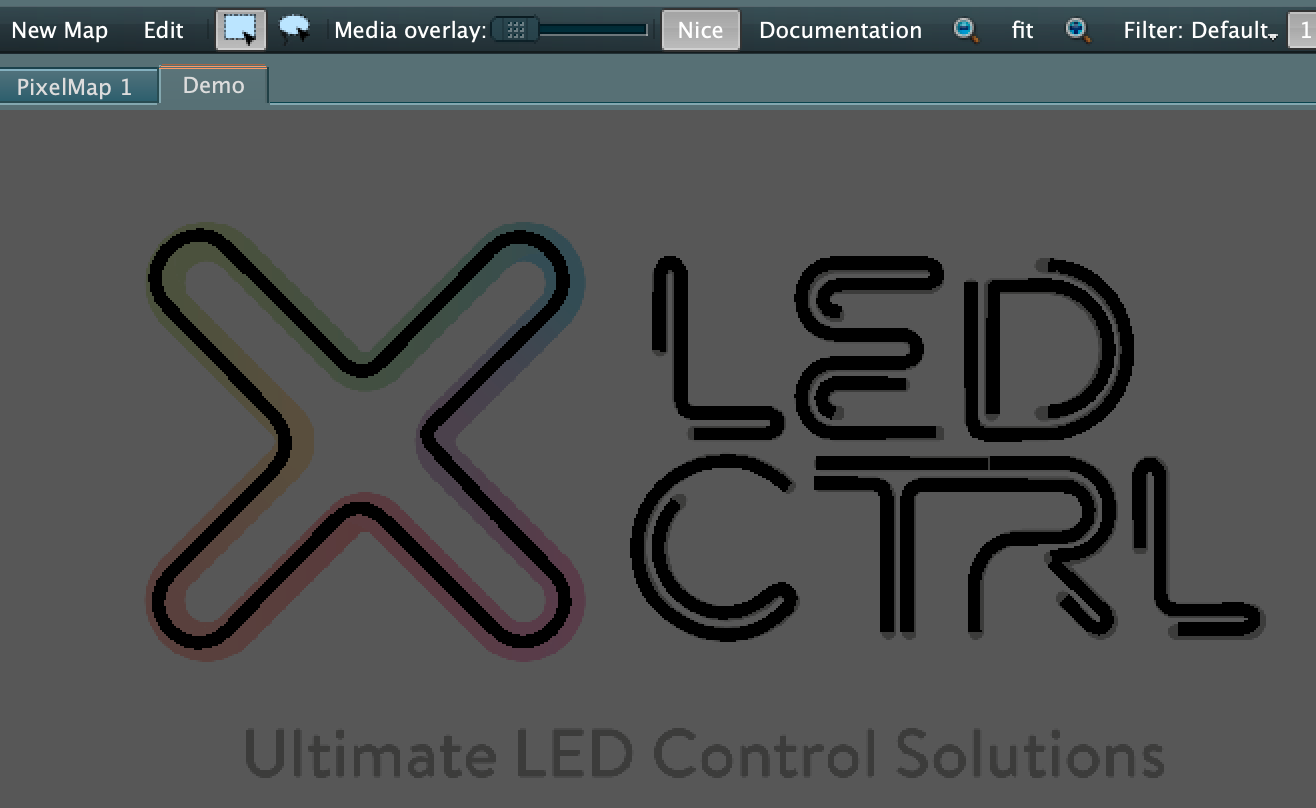
Displaying a fixture as continuous (Nice!)
When working with direct view linear products, it is often best to show the line as a continuous colour, rather than a sequence of dots. This can be achieved for the whole Flexi Mapper by selecting the Nice button at the top of the Flexi Mapper canvas. Toggling this button returns the default setting of the canvas to dots.
Alternatively the pixel group can be set to override the default Flexi Mapper nice setting. To set the Nice setting at the Pixel group level, in Edit mode, right click the Pixel Group and select the preferred option from the Fixed paint mode sub options.